Clik here to view.
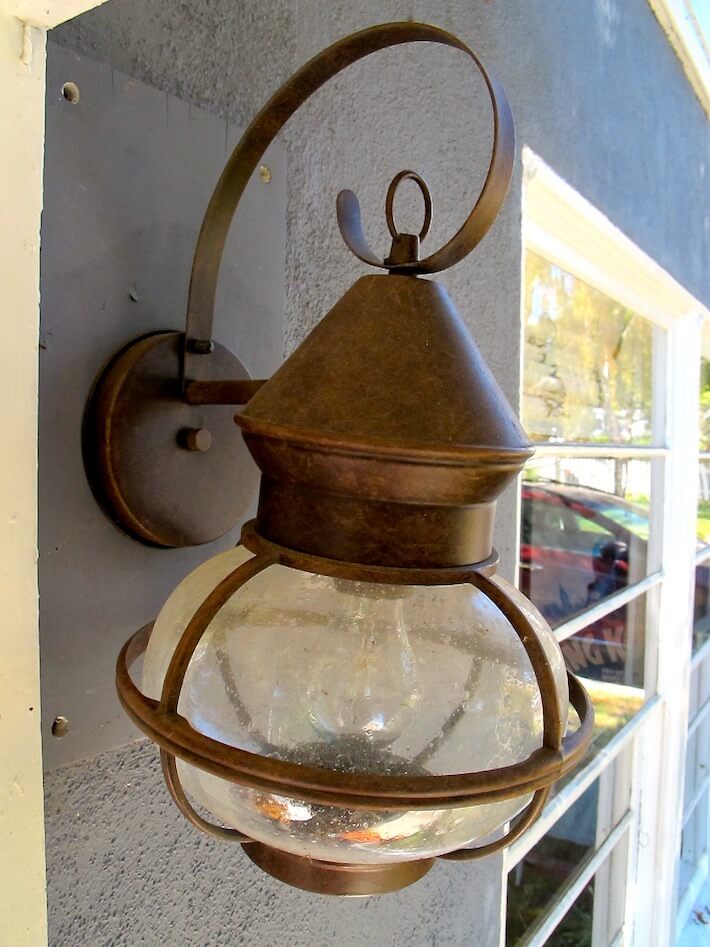
Exterior sconce lantern.
After finally painting the exterior of our rental bungalow (yes, we actually DIY painted a rental…call us crazy!), Matt and I were also excited about adding some new house bling such as this fun industrial style, nautical lantern sconce. It’s been seven months since we installed it and just recently the bulb blew out. Matt had a go at it first, and for the life of him, he couldn’t figure out how to get the darn thing to open. I figured, since we installed it, we’ve got to know how to change the bulb…come on!
So, after a few nights of fumbling with keys in the dark, and with Halloween just days away, it was time to tackle this head-scratching, nat-flying-in-your-face-annoying little task. Saturday morning finally offered me the opportunity to do some good ol’ deductive reasoning:
First, I unscrewed the easiest part, the top of the lantern which attached the decorative arch…WRONG!
Clik here to view.
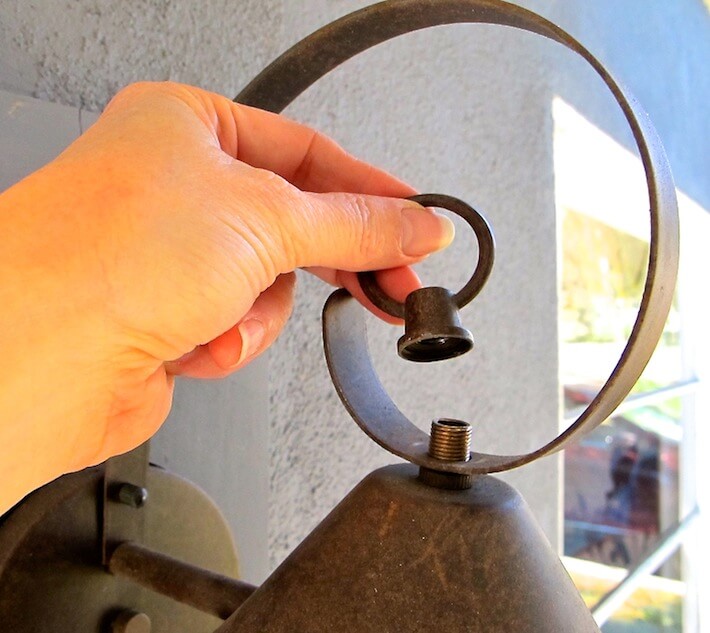
Sconce decorative top.
Second, I tried the next obvious screw which attached to the other end of the decorative arch…again, WRONG!
Clik here to view.
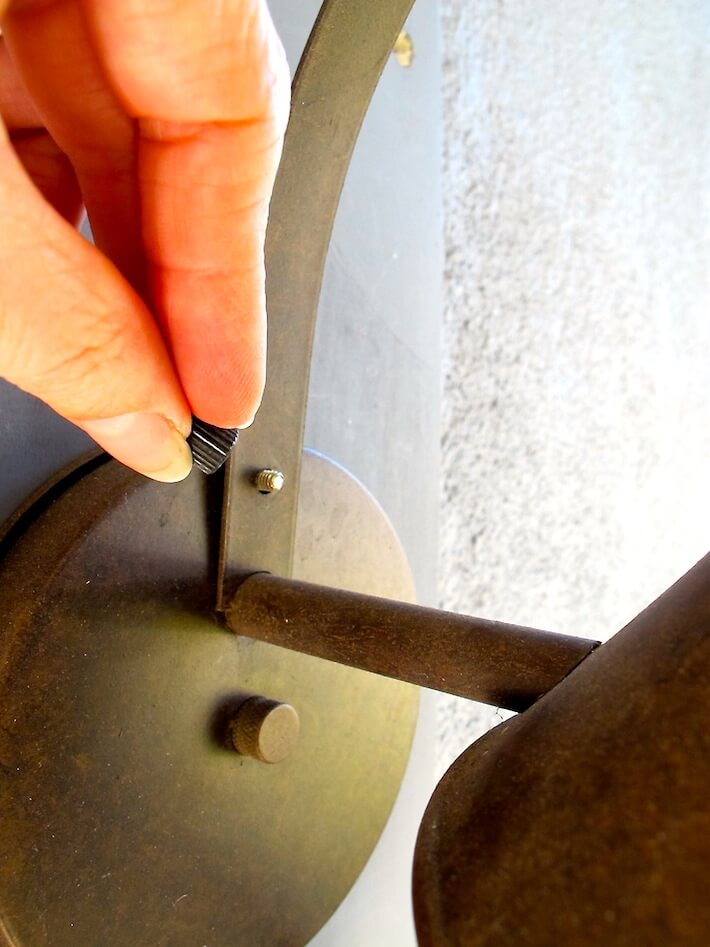
Sconce decorative part.
Next, I thought, “Maybe the bottom screws off.” So, I looked to see if it did…NOPE, Doh!
Clik here to view.
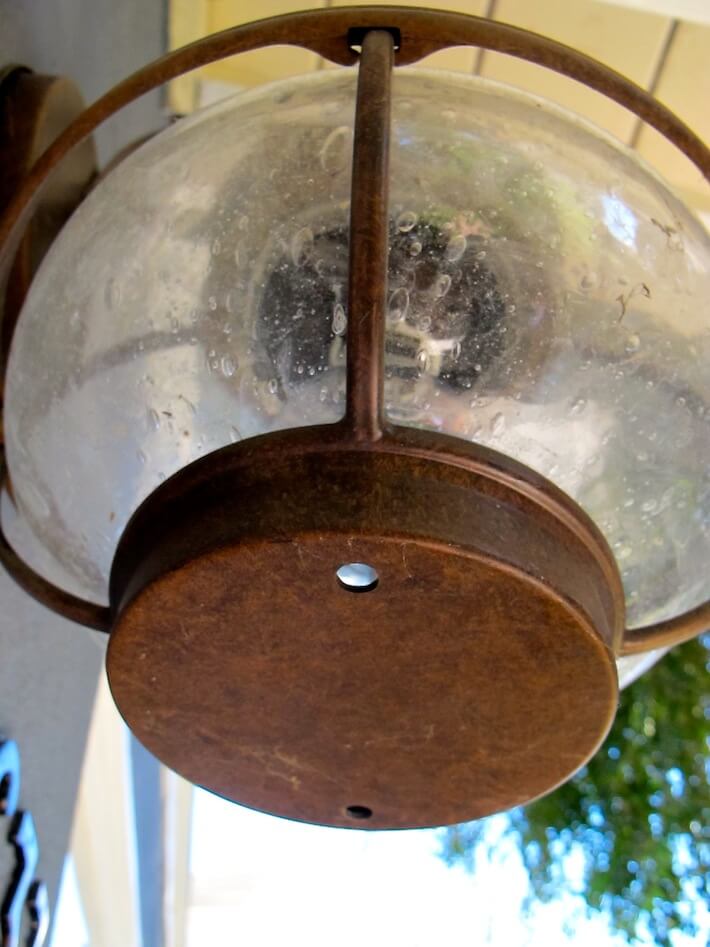
Underneath sconce.
No more screws to unscrew. Darn it! For a split second, I was actually thinking we might have to replace the whole sconce…but, that’s ridiculous! My mind started writing a complaint letter to the sconce manufacturer, and then…wham! It finally came to me. Here’s how I did it:
How to change the light bulb in an exterior lantern sconce:
Clik here to view.
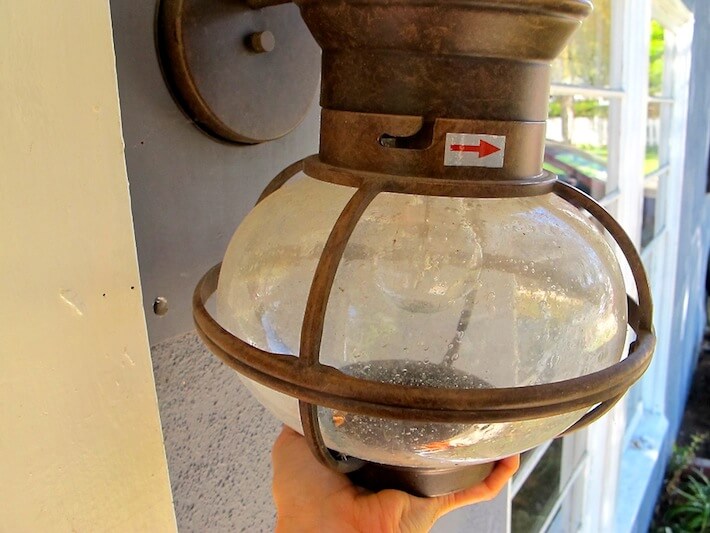
Removing sconce base.
1. Place one hand underneath the base of the lantern and carefully, yet firmly, twist/rotate it to the left. “Lefty loosey, righty tighty” – How could have I forgotten this?!?
Clik here to view.
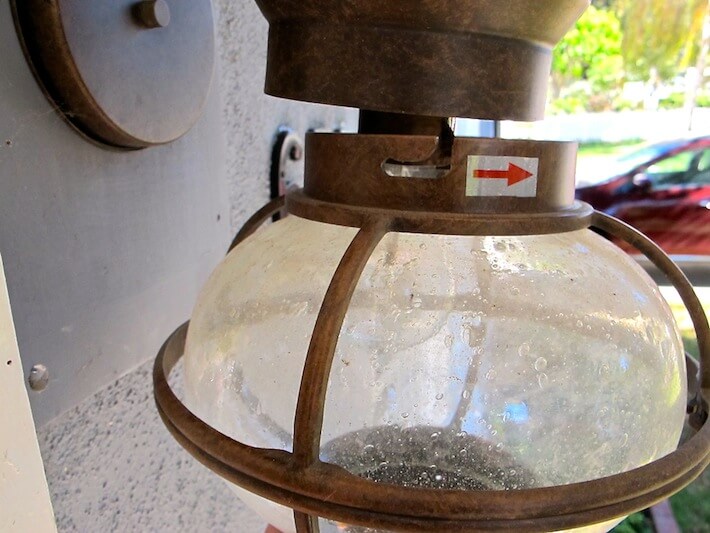
Sconce base removed.
2. Remove the base being careful not to hit the light bulb as you move it down and off the electrical housing.
3. Wipe out the inside and outside of the glass bulb with a damp towel, and set aside. Eww…spiders galore!
4. Replace light bulb. Ahh.
Clik here to view.
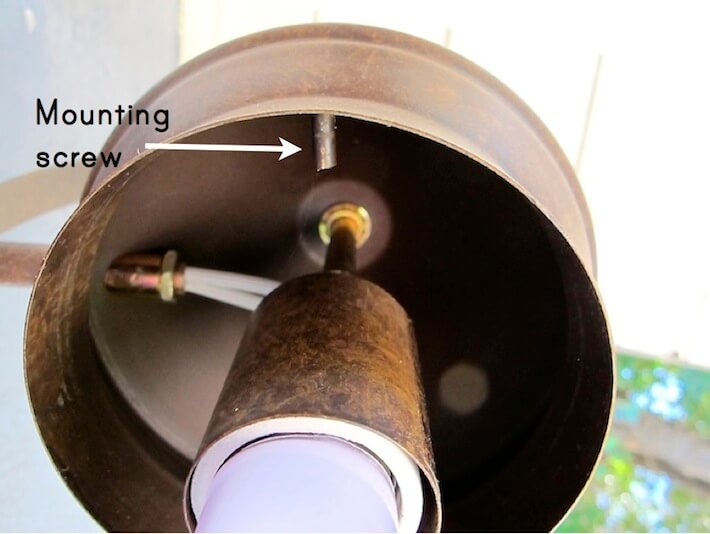
Locating mounting screw.
5. Locate the mounting screw which is situated up and inside the electrical housing.
Clik here to view.
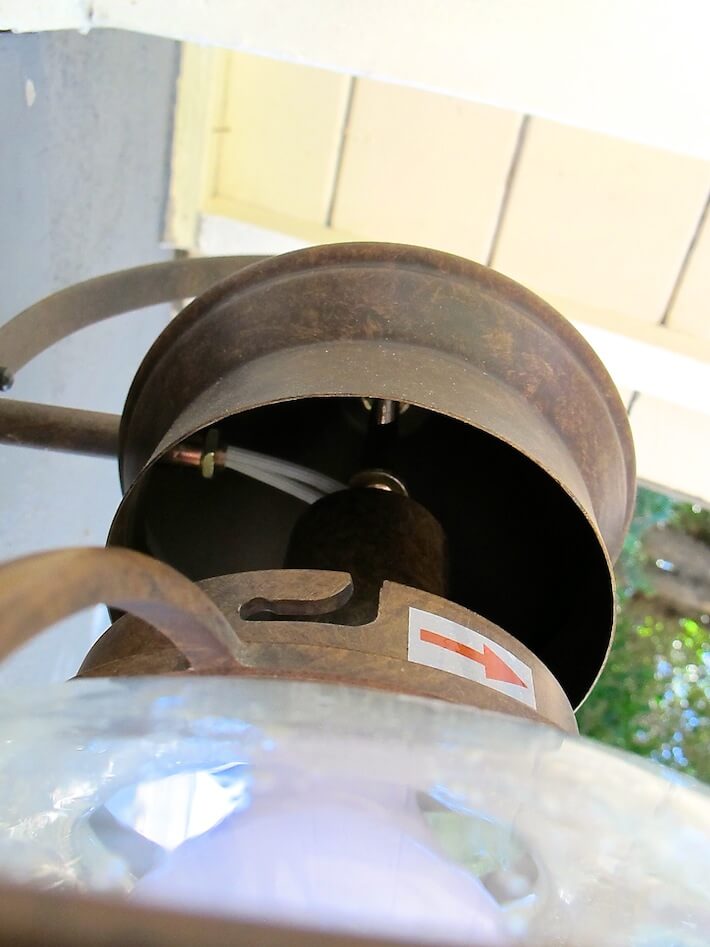
Attach sconce base to electrical housing.
6. Carefully remount the base fitting up into the screw, then…rotate “righty tighty”!
Clik here to view.
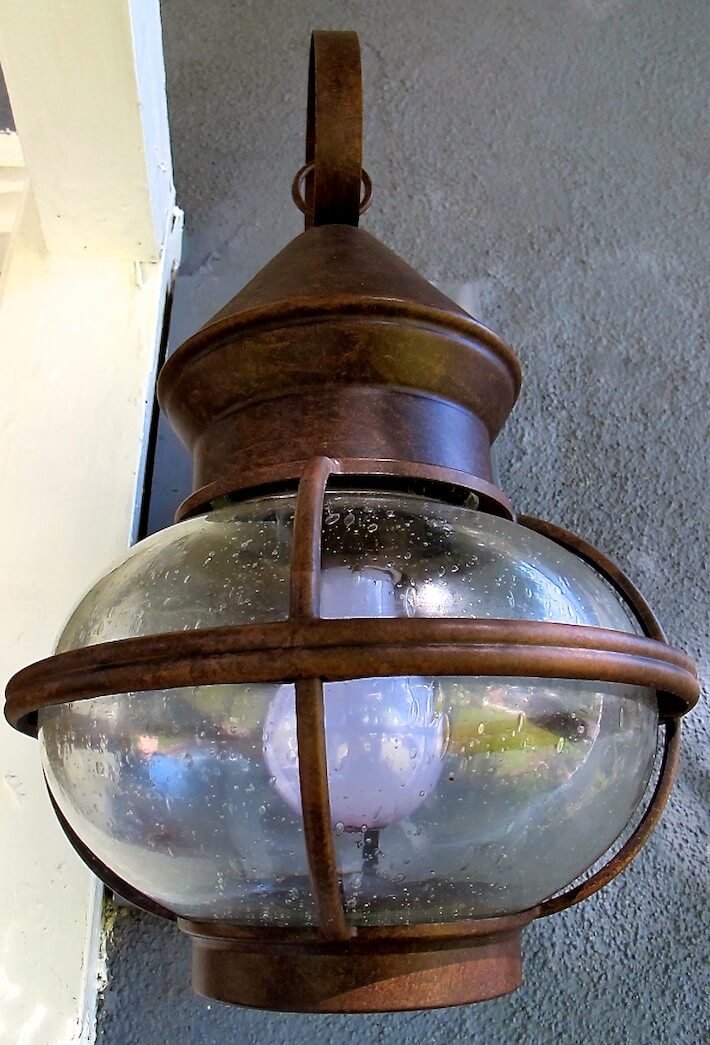
Exterior sconce lantern with replaced light bulb.
Ta-da!!!
Tip: When it comes to fixtures that need bulb changing or some sort of upkeep like changing batteries, keep the original installation instructions in a “Home Improvement” file folder…had we kept these, we might have saved ourselves from this kind of headache! Sheesh.
Photography by Skaie Knox, HomeJelly